We dispose of a lot of waste on earth each and every day. But, we can teach our little ones about the importance of recycling household items once we have finished using them. By repurposing waste items in our home, we are teaching our children how to be resourceful and conscious about wasting materials.
These recycling activities for toddlers are easy but will need assistance from an adult. These activities will help you to quickly turn your used toilet paper rolls and plastic bottles into beautiful and useful tools for your home.
Why recycling activities are so beneficial for toddler’s learning and development
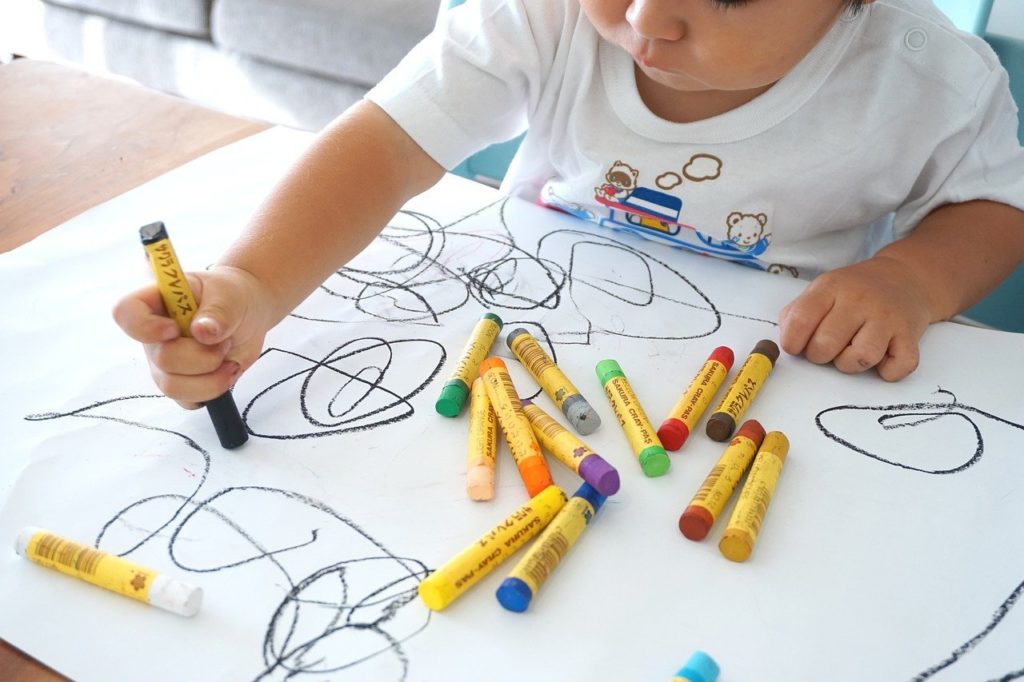
Toddler arts and crafts are amazing tools for their imagination and development. They improve fine motor skills, social skills, creativity, and so much more. Not only that, but as parents we and our children need time to express ourselves in a creative and healthy way.
Children need to interact and bond with their parents, and the perfect way to do that without screen time is crafts. Spark their imagination with these easy activities for toddlers at home.
Maybe you aren’t the crafty parent you wish you could be, but you don’t need a thousand-pound kit to complete these crafts that I will show you – you can even use a lot of things you have lying around at home.
All of these crafts are upcycling projects, meaning they can be done with items around the house that otherwise would be thrown away eventually. These are good for your child’s development, bonding, and the planet!
Here is a list of the perfect recycling activities for toddlers
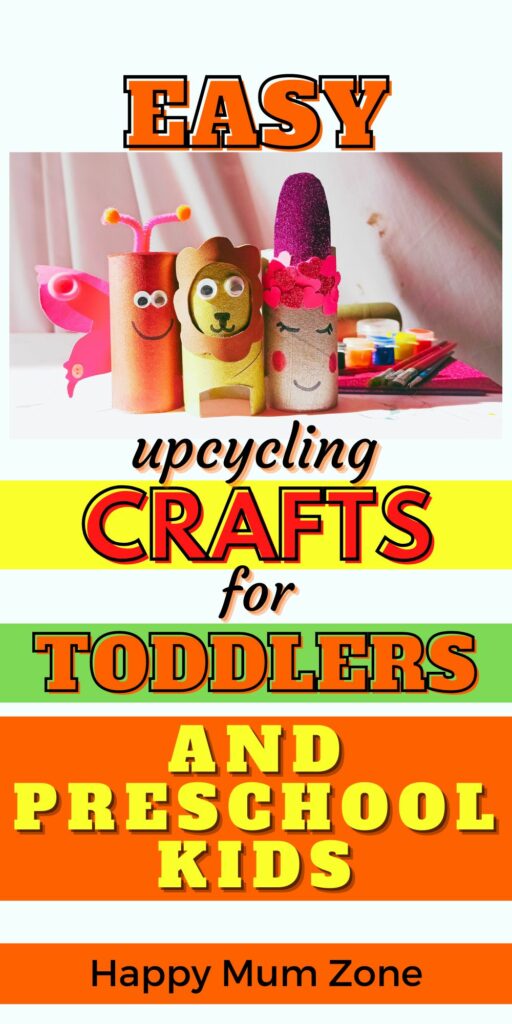
Moulded Wax Crayons
We all know that struggle. We love seeing our kids’ masterpieces, but they leave a trail of broken crayons on the floor to get stepped on. How many crayon boxes have you bought in the last year?
You could reuse those old broken bits of crayons – let me show you how to make rainbow crayons!
Luckily this upcycling craft will save you money on new crayons and it is super easy for you to do with your child!
All you need is:
- Old/broken crayons
- A bowl of ice water
- Silicone moulds (for baking)
Here are the 5 steps to make melting wax crayons:
1. Gather all your old and/or broken crayons in a bowl.
2. Soak the crayons in ice water overnight or warm water for 10 minutes. This will make the paper easily peel right off.
3. Preheat your oven to 230 degrees Fahrenheit or 110 degrees Celsius. Break your crayons in the moulds to make them fit. (Side note: you can organize the colours by warm/cool tones, add sparkles, make them multicoloured, use dinosaur moulds, really anything you can think of!)
4. Put the mould in for 15 minutes. You can put the mould on a baking sheet if it’s too bendable.
5. After the crayons are melted, let them sit out and cool off for about an hour. After that you are good to let your kids play with their new crayons!
This craft is not only a very simple 5 step process on how to make crayons into moulds but it also reduces a lot of waste. Plus, these crayons can be bulkier for a better grip for tiny hands!
Handmade Plastic Boat
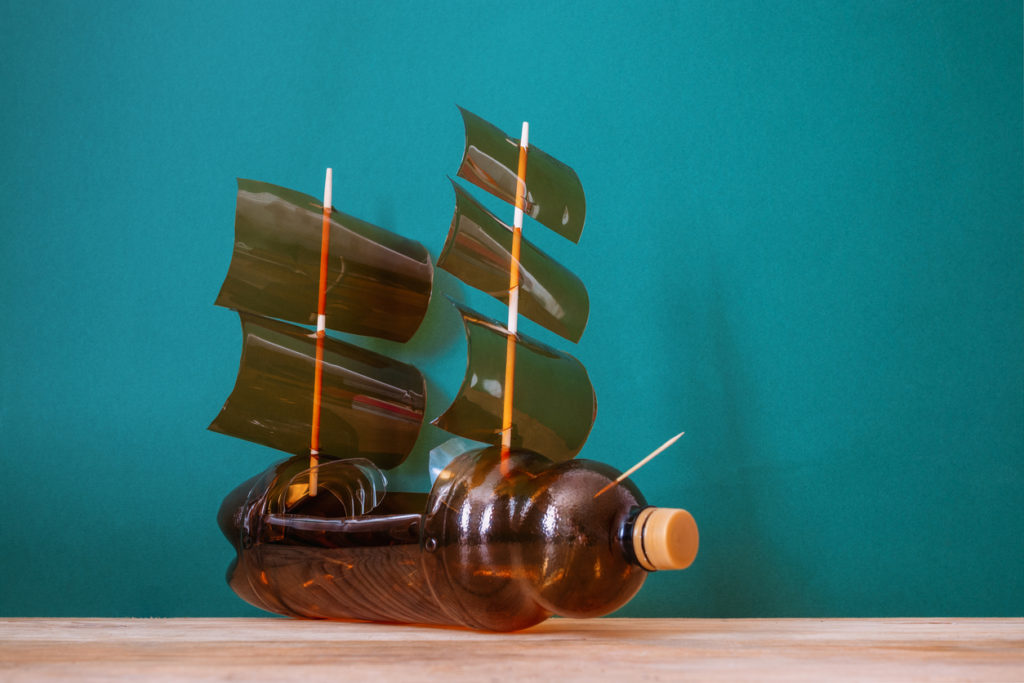
Home made boats are good for warm summer days as they can float in pools or you can use them in the bath. If you’re looking for creative things to do at home with toddlers then this one is easy!
The kids will love creating this craft, decorating it, and then playing with it! It’s also a great paint activity for toddlers!
All you need is:
- A washed out, plastic bottle with a lid
- Waterproof decorations, paint, stickers or anything that your toddler can decorate their boat with
- Hot glue
- Scissors
- Wooden sticks, straws, or anything similar
- Almost anything can make the sail such as plastic plates, cardboard or anything similar that you have lying around.
- Dried rice or pebbles for the inside of the boat which will stop the boat from tipping over.
Here are the 3 steps on how to make a boat:
1. Fill the bottle about 1/3 of the way with the dried rice or pebbles and close the bottle lid.
2. From this point on, you can really do whatever you want. If you want to have a sail, you can use the hot glue to glue on the wooden sticks or poke them through the top of the boat. After, you can decorate the sail.
3. Your boat is ready to float now. You can play with it in a pool or in the bath!
This is a simple 3 step method on how to make a boat that floats. It’s an easy boat activity that sparks toddlers fun and creativity (and makes bath time more exciting!). It’s fun for parents, too!
Related Post: How To Make A Handprint Mold Ornament
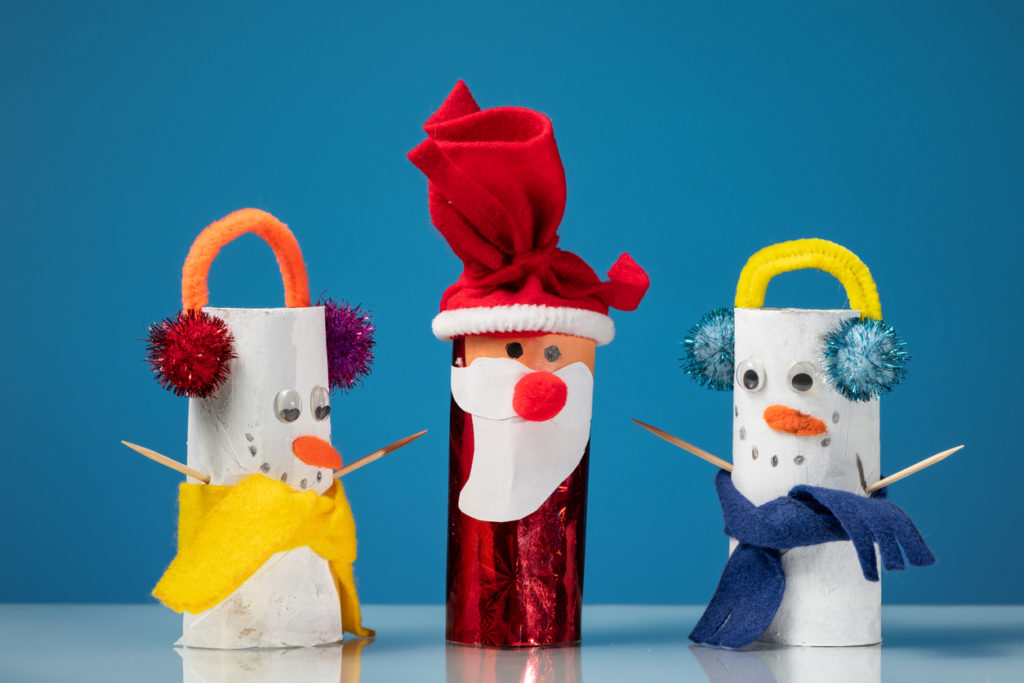
toilet paper roll crafts
Paper towels or toilet paper go fast, especially with a large family, and it may make you wonder, “how many paper towel rolls have I thrown away”?
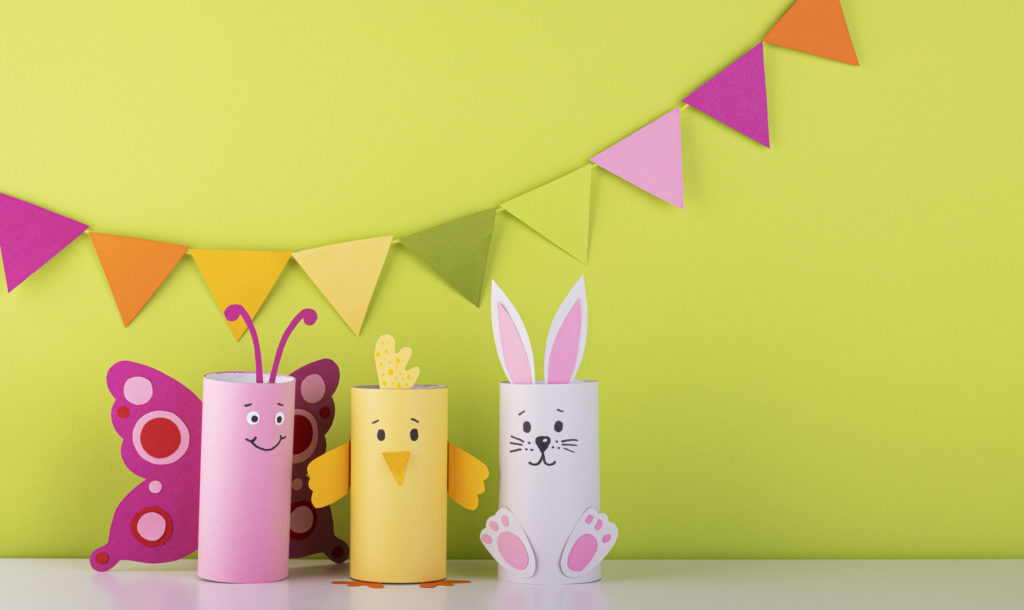
You can actually use the toilet rolls to make fun crafts! Of course, you can also design your toilet roll craft for any festive occasion such as Christmas or Easter.
All you need is:
- 1 Toilet paper or paper towel roll
- Glue
- Coloured paper
- Markers
- Scissors
Here are the 4 steps to make easy toilet paper roll crafts for toddlers:
1. First, choose the animal that you are going to create with this fun craft. You can customize it based off your child’s preference, but for these instructions we will use a fox. For a fox you would need orange and white construction paper.
2. You can either glue the construction paper onto the roll or paint/colour the roll.
3. Create the animals face with a piece of construction paper using a black marker and any other features you choose.
4. If you want, you can add a tail to the end of the roll and feet at the front and back, but it’s not necessary.
By the end, you will have a fun looking and colourful pencil holder!
These toilet roll arts and crafts are fairly universal: mums can use them for storing makeup, kids can use them for crayons, or really whatever you want. It’s a cute, personalized item that is super easy to make.
Plastic / Water bottle piggy bank
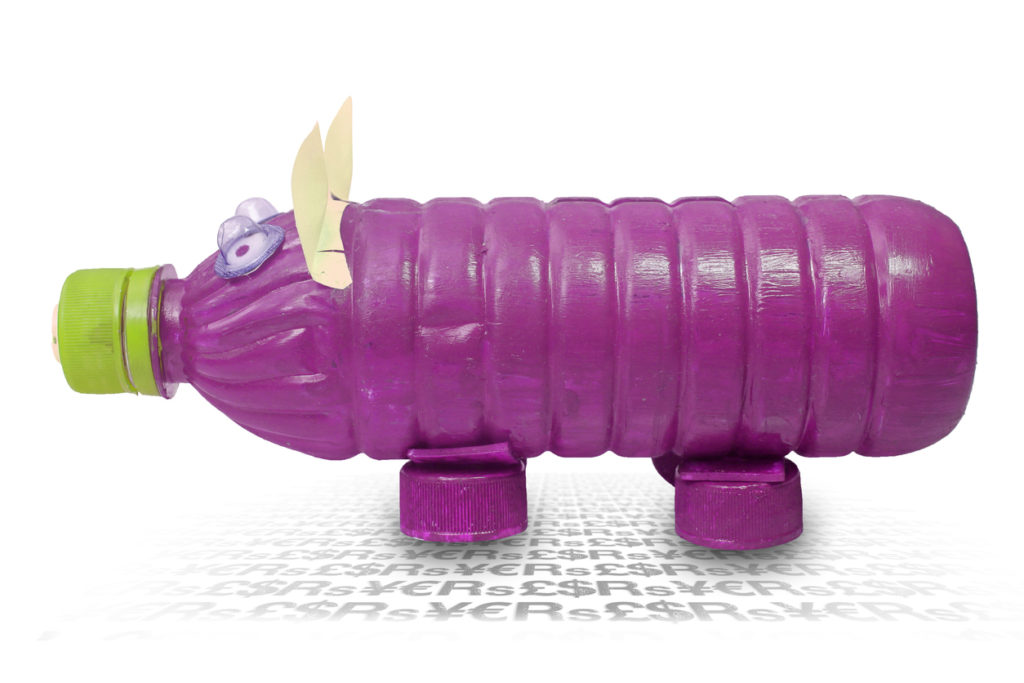
Plastic bottles often end up in landfills and in the ocean. They are a simple everyday item but are extremely bad for the environment. This craft can be a fun way to reuse some of your plastic bottles.
All you need is:
- A plastic bottle (with a wide lid)
- Pink (or any colour) construction paper
- Googly eyes (or a marker)
- Pipe cleaner
- 4 small wooden beads (or plastic bottle lids)
- Hot glue
- Scissors
Here are the 5 steps to creating water bottle piggy banks crafts:
1. Cut a slit about 2 inches long and half an inch wide in the middle of the bottle and this will be the top of the piggy bank where the coins go into.
2. Cut, wrap and glue the construction paper around the bottle so that it fits evenly. Cut where the top slit is so the money can go in. Wrap the bottle lid in construction paper separately so the bottle top can be unscrewed to take the money out.
3. Cut out the pig’s ears and a circle to cover the nose. If your child is old enough to work with scissors, use a marker to outline where they should cut and let them practice using scissors.
4. Hot glue the four beads (or plastic bottle lids) at the bottom as legs. Hot glue the ears and the pipe cleaner for the tail.
5. Now that the adult part is done, it’s time for the kids turn. The kids can draw and decorate this piggy bank however they want. You can glue on the googly eyes or they can draw them on. The possibilities are endless!
And now your child has their own personalized, upcycled piggy coin bottle bank. They will be proud to save up their money up and will also learn financial responsibilities. You can also be proud knowing that you are teaching about recycling to your toddler.
You may also like:
A Simple Slime Recipe With Just 2 Ingredients
Decorating Chocolate Activities For Kids
5 Homemade Musical Instruments You Can Create In Just 5 Minutes
8 Fun And Educational Shows For Toddlers On Youtube
30 Developmental Activities For 18-24 Month Olds
Fun Outdoor Activities For Kids And The Family
Want more ideas of recycling and upcycling activities for your toddler?
I hope you enjoy these creative recycling activities for toddlers. If you want to see more recycling and upcycling ideas for kids, take a look on Pinterest.
There are hundreds and hundreds of possibilities that will benefit you, your child, and our planet!