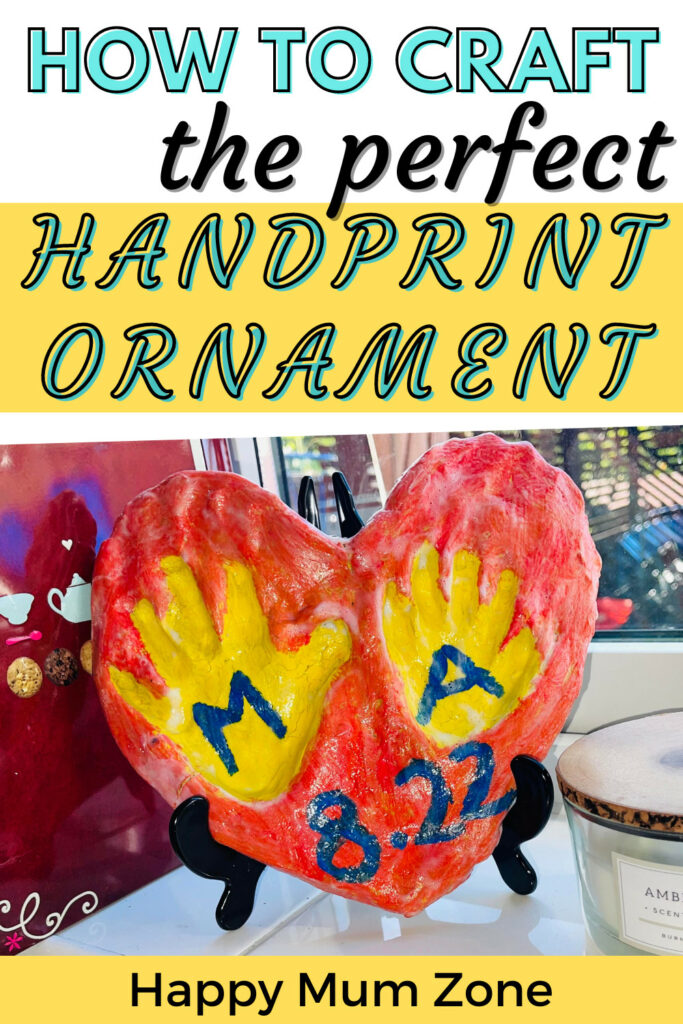
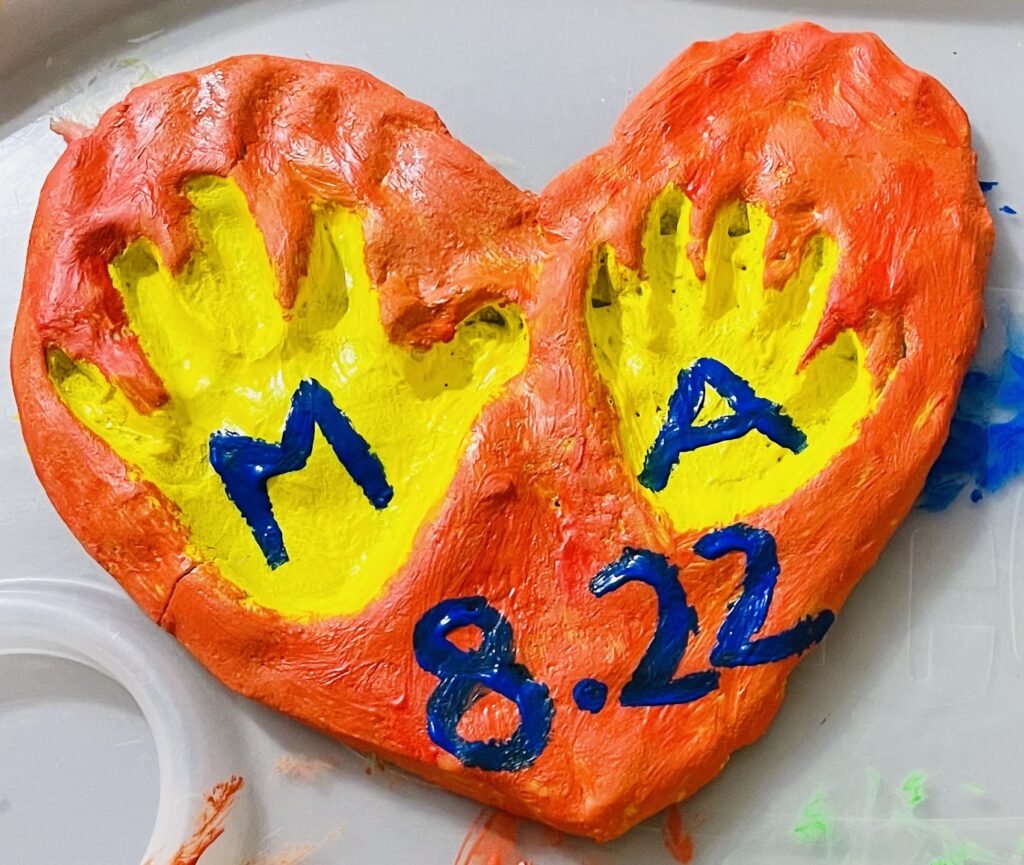
Here is an easy to follow guide on how to make handprint molds with flour and a few other ingredients. I and my 2 daughter’s made the handprint mold that you can see above by following this method.
Babies and toddlers grow up so fast. Time simply flies when you’re raising young kids. Before you know it they are grown up and unfortunately no one can rewind time as much as we may want to.
For this reason, it’s important to create lots of sentimental things to remember your kids early years by. This can include, having photos, frames, hand and foot prints and molds.
I’m going to show you how to make your own keepsake handprint mold ornament. This is a simple and budget friendly craft that your toddler can jump on board with you to create.
The simple fact that you are creating the mold yourself will only add to the sentimental value of it and it will be nice to show them what they helped to make when they get older.
So, let’s get stuck in!
What You Need To Make The Handprint Mold Ornament:
- A cup of plain flour – otherwise known as all-purpose flour
- Half a cup of salt
- Half a cup of cold water
- Rolling pin
- None stick oven dish
Optional Items To Add To Your Handprint Mold Ornament:
- Food colouring of your choice
- Acrylic paint
- Glitter
- Decorative beads
- Gloss waterbase sealer glue
- A Display stand

Now You Know What You Need, Here’s How You Make A Handprint Mold.
Step 1:
The first thing is to make dough and to do this, simply mix one cup of flour and half a cup of salt together in a bowl. Then slowly stir in half a cup of cold water… mix them together (you can add more flour if the mixture is too wet or more water if too dry).
Step 2:
Once the mixture is mixed together then knead it with your hands and make it into several balls. Now you can add food colouring to each ball if you wish to include this.
Step 3:
Pre-heat your oven to 120 degrees Celsius or 250 degrees Fahrenheit.
Roll out your dough using a rolling pin, making the dough about half an inch in thickness. Now, you can help your little one to make their handprint in the dough but make sure you wash their hands afterwards so they don’t consume any of the dough mixture.
Step 4:
Place the handprinted dough on a non-stick oven dish and put it in the centre of the oven to bake for one hour and 30 minutes.
Step 5:
Once the salt dough ornaments have cooled you are ready to finish off decorating them with paint, glitter and beads if you wish to.
Step 6:
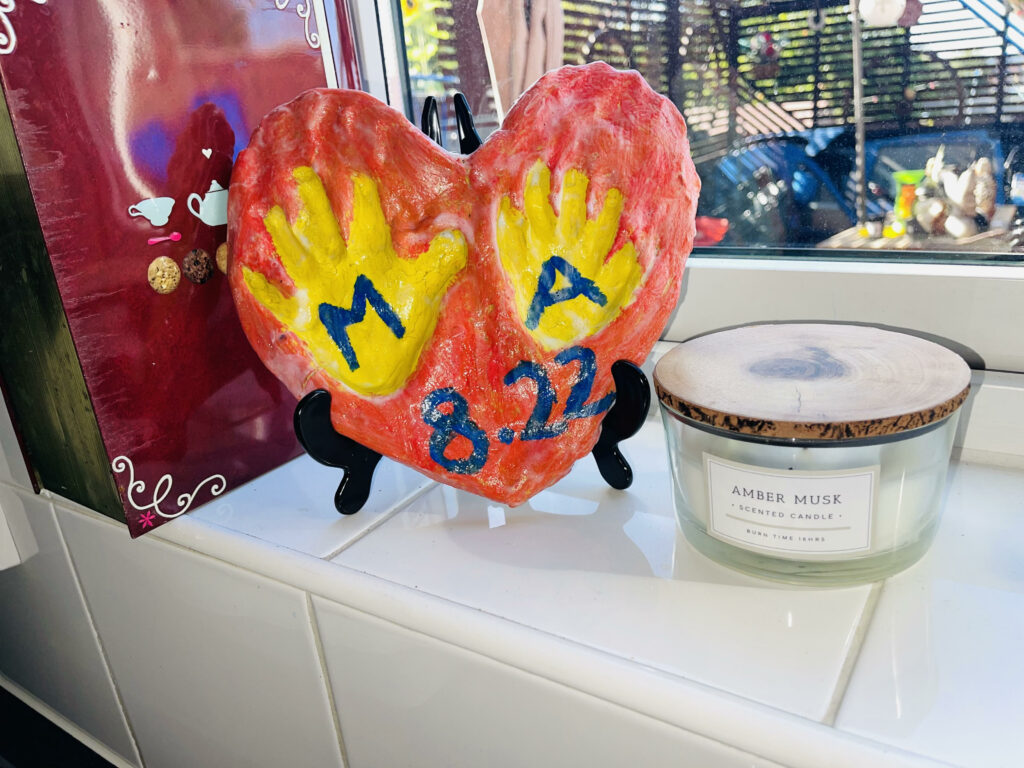
When the paint has dried, you can seal it with the waterbase sealer glue as this will keep your salt dough ornament lasting longer. Once the glue has dried, you can measure your ornament and find a display stand that your handprint mold will fit on – you can find many display stands for just a few pounds on Amazon. It will take a few days for the handprint mold to completely dry and harden so try to keep it flat until then.
I hope you enjoy making these salt dough handprint ornaments as much as we did
You can also use this to make homemade footprint ornaments for your baby or toddler – just follow the same steps but use your little one’s foot instead of their hand.
You may also like:
A Simple Slime Recipe With Just 2 Ingredients
Easy Stretchy Kinetic Sand Recipe
5 Musical Instruments To Create With Toddlers & Preschoolers
Easy Upcycling Craft Activities For Toddlers At Home
Under The Sea Ocean Sensory Bin (That’s Gooey)
If you want more toddler and preschooler activity ideas, here are 80+ to choose from.